
Okay, this one has been on the list forever, and it was so easy it almost feels like a cop out. But the results are pretty adorable!

I am in love this this new anchor design etched into bamboo! The buttons are 3/4″ or 30L.
Buttons have a history stretching back at least 5,000 years, and are as often decorative as functional. They can be made of nearly anything – wood, plastic, shell, leather or even metal. There are several ways of attaching buttons – the sew through method is the most popular, followed closely by shanked buttons (or buttons with the loop on the back.)
Sew through buttons are also called flat buttons, and are easily replicated with a laser cutter. So, to make this post, I basically had to pick my favorite designs, and decide where the holes would go! I found that in designing I preferred the 2 hole look, while Ryan had the four hole mindset. In doing a little research, apparently 4 hole buttons are used more regularly on menswear. I had no idea! Perhaps it’s assumed men are a bit more rough on their clothing and need a stronger button attachment.

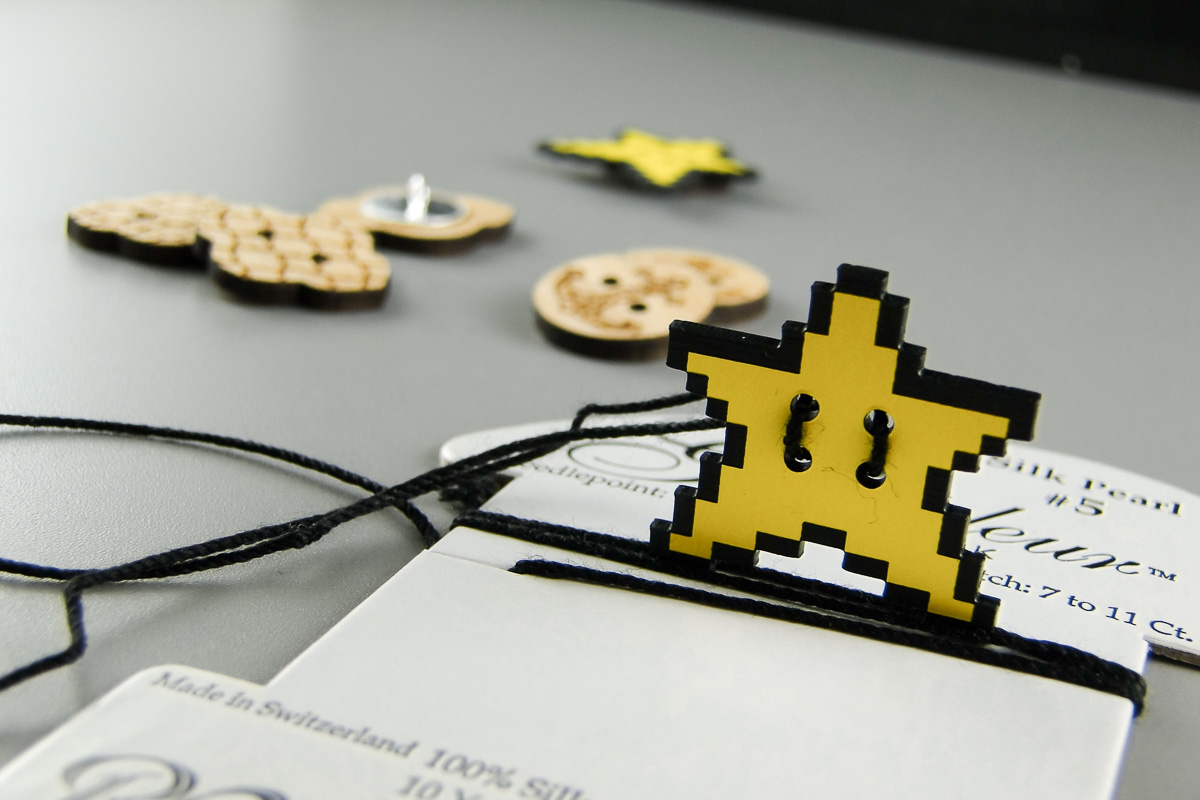
Starman! Super Mario Brothers 3, for those who are curious and love Ryan’s / Pixelaser’s level of authenticity.

The 4 hole set up is perfect for the Starman. The threads make his eyes!
Buttons have a whole different measurement system, as any serious sewer or button collector would tell you. Buttons are measured in “lignes“. I decided to make my buttons medium sized, between 3/4″ and 1 1/4”, or 30-50L (lignes). The holes are 2mm, which just seemed to fit rationally with the button surface area.

Glue on shanks are available in metal or plastic – I got mine from Rio Grande.
I’ve been wanting to try making buttons for years, so I had a package of glue on shanks ready for the occasion! Find a strong enough glue, and virtually anything can be a button! I recently made a vintage camper design for a swap, and it makes a perfect button. Putting holes into it to make it a sew-through button would just mar the design.

Cute camper on the front, button shank on the back.
Overall, I’m tickled with how they turned out. My favorite are definitely the anchors (a new jewelry design) followed closely by the Moroccan inspired set and the Starmen. Now I just need to learn to sew so I can have something to put them on! Any of the Isette or Beadeux designs you’d like to see at buttons?


Holed vs. Shanked
So glad to see this post I have recently made my own buttons on the laser for a project I was sewing. Just a note – I used plain coloured perspex for one set of buttons but they didn’t have the impact needed so I used a rubber stamp and StazOn inkpad to add a coloured pattern. Love your site you are my laser heroes – keep up the good work.
Aw, thank you! Do you have a picture of your buttons? I’d love to see it!